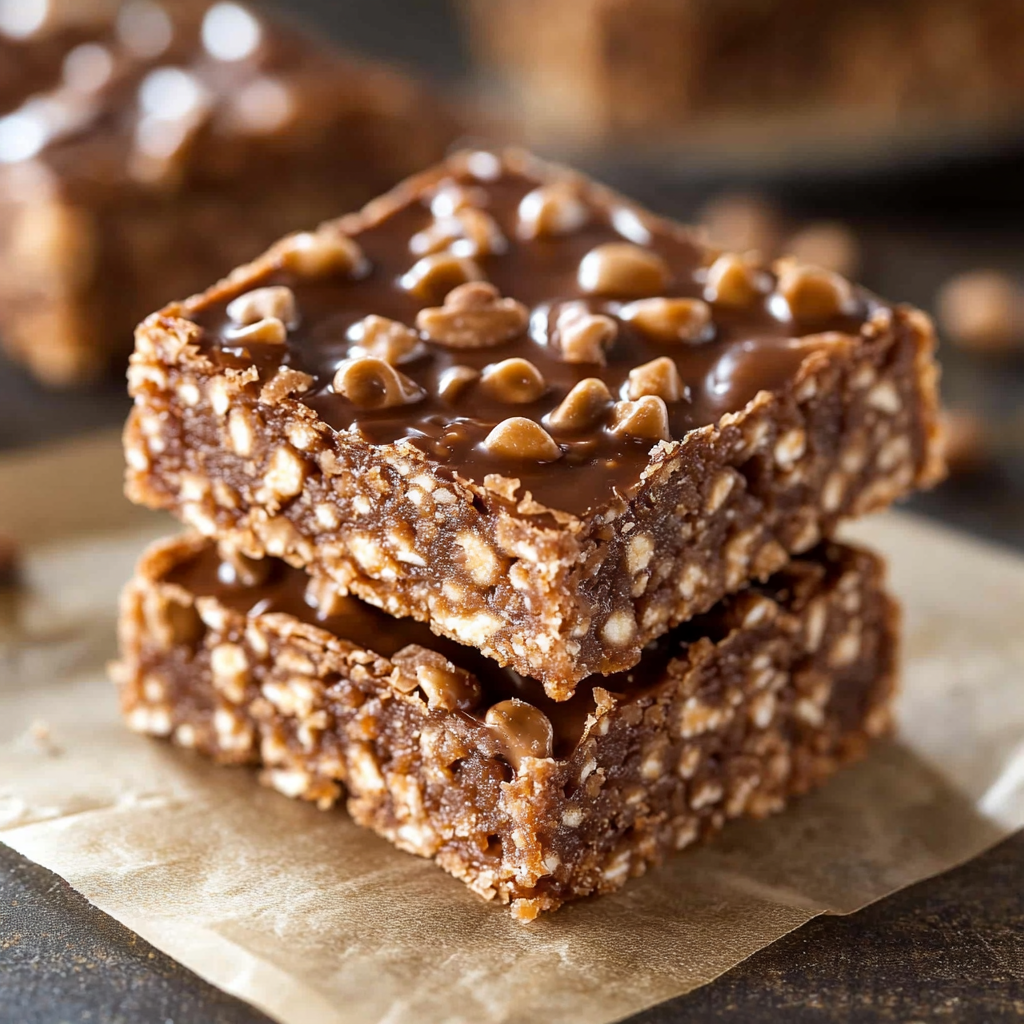
The scent of melted chocolate wafts through the air as you prepare to indulge in a treat that’s crunchy and oh-so-satisfying. Homemade crunch bars are not just a sweet snack; they are a moment of joy wrapped in crispy goodness.
Picture this: it’s a lazy Sunday afternoon, and you have zero motivation to leave the house. You glance at your pantry, spotting a few ingredients that promise deliciousness. That’s when the magic begins! Whipping up a batch of these homemade crunch bars can turn any ordinary day into an extraordinary one.
Why You'll Love This Recipe
- These homemade crunch bars are simple to prepare and require minimal ingredients
- They boast a delightful combination of flavors that will keep everyone asking for seconds
- Their vibrant colors and textures make them an eye-catching treat on any table
- Ideal for parties or quiet nights at home with Netflix
I remember the first time I made these bars; my friends devoured them within minutes at a movie night. The laughter echoed as we fought over the last piece!
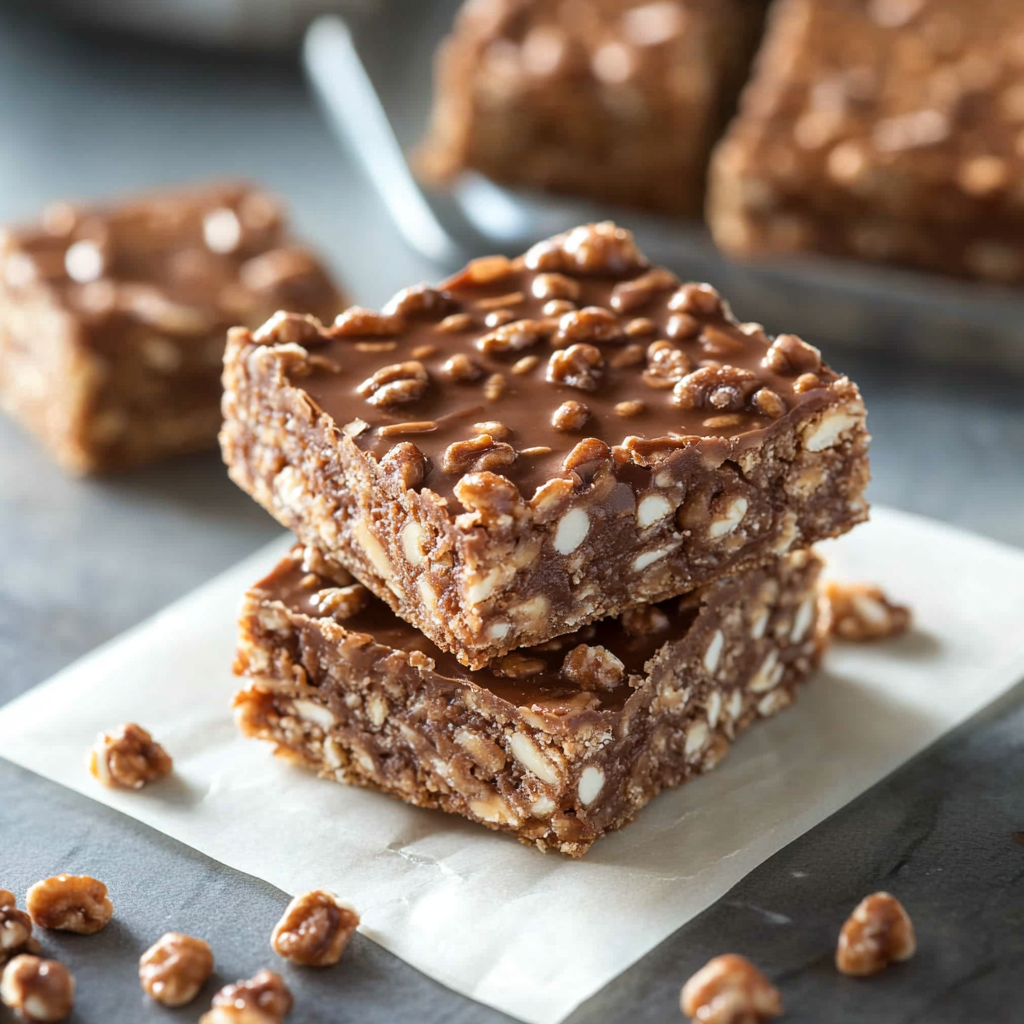
Essential Ingredients
Here’s what you’ll need to make this delicious dish:
- Rice Cereal: Choose crispy rice cereal for that perfect crunch that holds everything together nicely.
- Chocolate Chips: Semi-sweet chocolate chips work best; they melt beautifully without overpowering sweetness.
- Peanut Butter: Creamy peanut butter adds richness; natural varieties will give it an authentic taste.
- Butter: Unsalted butter is ideal as it allows better control over the overall saltiness of the bars.
- Marshmallows: Mini marshmallows provide great texture and sweetness; use fresh ones for optimal gooeyness.
- Vanilla Extract: A splash enhances flavor; opt for pure vanilla extract if possible.
The full ingredients list, including measurements, is provided in the recipe card directly below.
Let’s Make it Together
Prep Your Space: Gather all your ingredients and tools mixing bowls, spatula, and a greased baking dish ready to go! Preheat your oven to 350°F (175°C) if you’re feeling adventurous enough to bake them instead of chilling them.
Melt the Goodness: In a large saucepan over low heat, combine butter, peanut butter, and marshmallows until everything is smooth and melted together. Stir constantly until it becomes silky!
Add the Crunch Factor: Remove from heat and stir in the rice cereal gently until all pieces are well coated with that luscious mixture. You want every bite to scream flavor!
Layer It Up!: Transfer the mixture to your greased baking dish. Use a spatula to press it down evenly be firm but gentle; we want some crunch left!
Chill Out!: Refrigerate your creation for about 30 minutes until set completely. Patience is key here; good things come to those who wait!
Slice & Serve!: Once set, cut into squares or rectangles, depending on how generous you’re feeling today! Serve immediately or store in an airtight container for later indulgence.
Now you’re armed with everything you need to create scrumptious homemade crunch bars that will impress even the pickiest snackers! Enjoy every crunchy bite!
You Must Know
- Homemade Crunch Bars are easy to make and can be adapted to your taste
- Experiment with different toppings like nuts or dried fruits for added flavor
- The delicious smell of melting chocolate will have everyone in the house wandering into the kitchen
Perfecting the Cooking Process
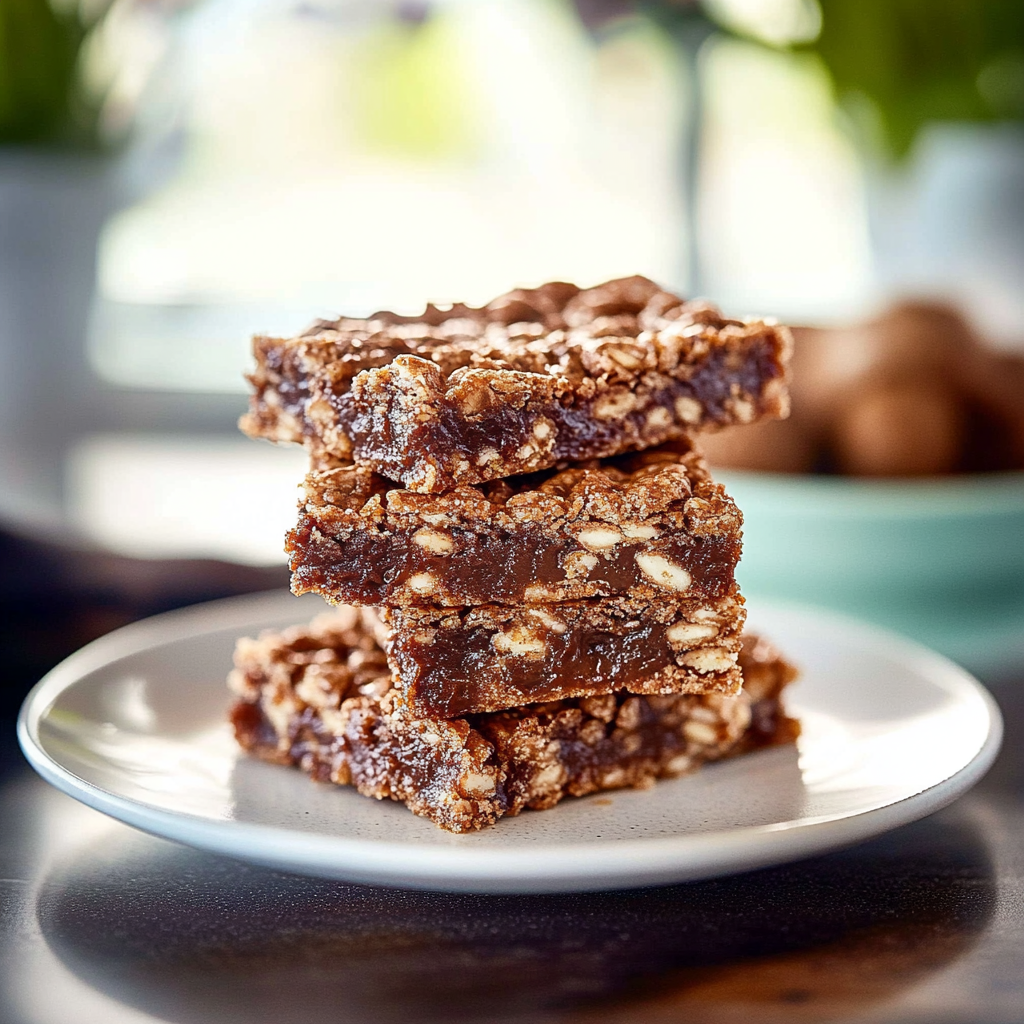
Start by melting your chocolate and butter together, then mix in the crispy rice cereal for even distribution. This sequence ensures a smooth texture and prevents clumping.
Add Your Touch
Feel free to swap out milk chocolate for dark or white chocolate. You can also add peanut butter or almond butter for a nutty twist that enhances flavor.
Storing & Reheating
Store your Homemade Crunch Bars in an airtight container at room temperature for up to a week. For longer storage, refrigerate them to keep them fresh and crunchy.
Chef's Helpful Tips
- Use high-quality chocolate for richer flavor; it makes a world of difference
- Ensure your crispy rice cereal is fresh, as stale cereal will ruin the texture
- Allow the bars to cool completely before cutting them to avoid crumbling
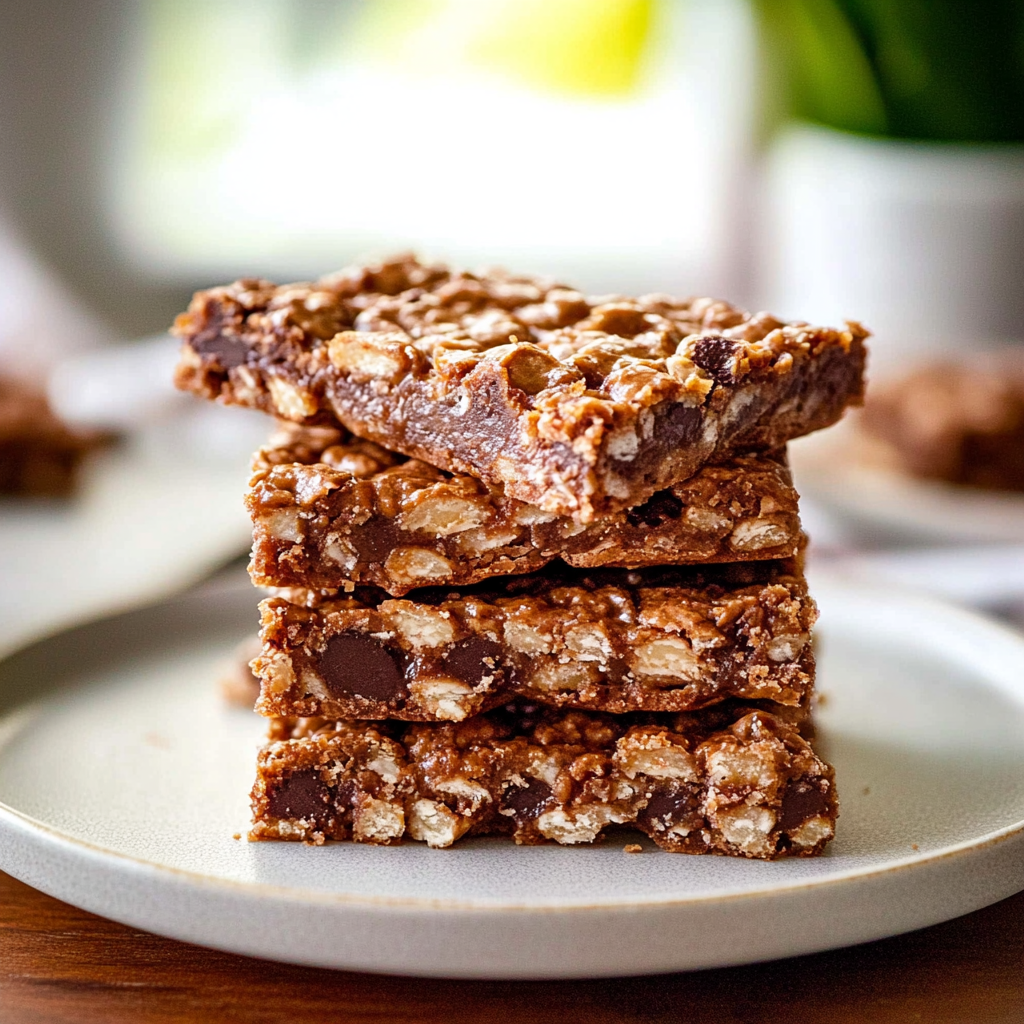
Homemade Crunch Bars remind me of lazy afternoons spent with my kids, crafting sweet treats while making memories. Their excited giggles as they licked the mixing spoon are moments I cherish.
FAQ
Can I use different types of chocolate in Homemade Crunch Bars?
Absolutely! Dark, milk, or white chocolate all work beautifully in this recipe.
How long do Homemade Crunch Bars stay fresh?
They remain fresh for about a week when stored properly at room temperature.
Can I add nuts or dried fruit to my bars?
Yes! Adding nuts or dried fruit enhances both texture and flavor significantly.
Homemade Crunch Bars
5 Stars 4 Stars 3 Stars 2 Stars 1 Star
No reviews
- Author: Jessica Harper
- Total Time: 20 minutes
- Yield: About 16 servings 1x
Description
Homemade Crunch Bars are a delightful treat that combines crispy rice cereal, creamy peanut butter, and rich chocolate. Perfect for satisfying sweet cravings or sharing with friends!
Ingredients
- 3 cups crispy rice cereal
- 1 cup semi-sweet chocolate chips
- 1/2 cup creamy peanut butter
- 1/4 cup unsalted butter
- 2 cups mini marshmallows
- 1 teaspoon pure vanilla extract
Instructions
- Gather ingredients and grease an 8×8-inch baking dish.
- In a saucepan over low heat, combine butter, peanut butter, and marshmallows. Stir until smooth.
- Remove from heat and gently fold in the rice cereal until evenly coated.
- Pour mixture into the greased baking dish, pressing down firmly but gently.
- Refrigerate for about 30 minutes until set.
- Cut into squares or rectangles and serve!
- Prep Time: 10 minutes
- Cook Time: 10 minutes
- Category: Dessert
- Method: No-Bake
- Cuisine: American
Nutrition
- Serving Size: 1 serving
- Calories: 160
- Sugar: 10g
- Sodium: 75mg
- Fat: 8g
- Saturated Fat: 3g
- Unsaturated Fat: 5g
- Trans Fat: 0g
- Carbohydrates: 20g
- Fiber: 1g
- Protein: 2g
- Cholesterol: 5mg

